

Tactical Field Care and Gear Maintenance Best Practices
Operational readiness comes down to two things: keeping casualties alive and keeping gear functional. The TCCC framework, or Tactical Combat Casualty Care, gives military personnel and first responders a structured approach to both. At its core, TCCC organizes field medical response around the MARCH algorithm (Massive bleeding, Airway, Respiration, Circulation, Head injury/Hypothermia/Hypovolemia) and the PAWS protocol (Pain, Antibiotics, Wounds, Splints) for sustained casualty management. Alongside medical protocols, best practices for tactical gear field care require disciplined inspection, cleaning, and repair routines that prevent equipment failure at the worst possible moment.
Key priorities every operator should internalize:
- Control massive hemorrhage first. Tourniquets and hemostatic agents save more lives than any other single intervention in the tactical environment.
- Follow MARCH in sequence. Skipping steps or reversing order costs lives.
- Apply PAWS after initial stabilization to prevent infection, manage pain, and protect injuries during evacuation.
- Handle enemy combatants with security and legal compliance as the first priorities, not afterthoughts.
- Clean tactical gear materials with cold water and mild soap only. Heat, bleach, and fabric softeners destroy technical coatings.
- Inspect straps, fasteners, and membranes after every mission. Salt and grit are the primary threats to gear longevity.
How tactical field care works: the MARCH algorithm in practice
Tactical Field Care is the phase of TCCC that begins once the operator and casualty are no longer under direct fire. The threat level has dropped enough to allow focused medical attention, but evacuation has not yet arrived. This window is where the MARCH algorithm determines who survives.
Massive bleeding control
Uncontrolled hemorrhage kills faster than any other battlefield injury. The first action is always tourniquet application on extremity wounds, placed 2–3 inches above the wound and tightened until bleeding stops. For junctional wounds (groin, axilla, neck) where a tourniquet cannot seat properly, wound packing with hemostatic gauze such as Combat Gauze and direct pressure are the standard. Wound packing requires firm, deliberate pressure for a minimum of three minutes.
Airway management
An unconscious casualty with no airway intervention will die from obstruction before blood loss becomes the issue. Positioning is the first tool: roll the casualty into the recovery position to prevent the tongue from blocking the airway. A nasopharyngeal airway (NPA) is the preferred adjunct in the tactical environment because it tolerates a semi-conscious patient better than an oral airway. Surgical cricothyrotomy is reserved for cases where NPA fails and the airway remains obstructed.
Respiration support
Once the airway is clear, assess breathing. Tension pneumothorax is the primary respiratory killer in combat. Signs include absent breath sounds on one side, tracheal deviation, and rapid deterioration despite airway management. Needle decompression at the second intercostal space, midclavicular line, relieves the pressure. Open chest wounds require a vented chest seal applied immediately to prevent air from entering the pleural space with each breath.
Circulation assessment
After hemorrhage control and airway management, assess circulation. Check radial pulse quality and capillary refill. Establish IV or IO access for fluid resuscitation when the casualty shows signs of hemorrhagic shock: altered mental status, weak or absent radial pulse, and pale, cool skin. Whole blood or blood products are preferred over crystalloids when available; excessive saline infusion worsens coagulopathy in trauma patients.
Head injury, hypothermia, and hypovolemia
The final MARCH component covers three distinct threats that share one common feature: they are easy to miss under the stress of a tactical environment. Head injury assessment means checking pupil response and level of consciousness using the AVPU scale (Alert, Voice, Pain, Unresponsive). Hypothermia prevention starts immediately after hemorrhage control by covering the casualty with a heat-reflective blanket. Hypovolemia management ties back to circulation: if fluid resuscitation has not corrected shock signs, reassess for missed bleeding sources.
Field MARCH comparison: intervention priority by threat level
| Threat | Primary Intervention | Secondary Intervention |
|---|---|---|
| Massive hemorrhage | Tourniquet / wound packing | Hemostatic dressing |
| Airway obstruction | Recovery position / NPA | Surgical cricothyrotomy |
| Tension pneumothorax | Needle decompression | Vented chest seal |
| Hemorrhagic shock | IV/IO access, blood products | Reassess for missed bleeding |
| Hypothermia | Heat-reflective blanket | Remove wet clothing |
| Head injury | AVPU assessment | Pupil check, position management |
What the PAWS protocol does after initial stabilization
PAWS picks up where MARCH leaves off. Once the immediate life threats are controlled, the casualty still faces pain, infection, wound deterioration, and fracture instability during what can be a lengthy evacuation. PAWS addresses each of those in sequence.
Pain management in the field
Uncontrolled pain drives physiological stress responses that worsen shock and impair cooperation during treatment. The TCCC pain management ladder starts with oral medications for walking wounded: meloxicam (a non-opioid NSAID) is the first-line choice because it does not suppress respiration or alter mental status. For moderate to severe pain in casualties who are not in shock and can protect their airway, oral transmucosal fentanyl citrate (OTFC) is the next step. IV or IM ketamine is reserved for severe pain or when other options are unavailable, given its dissociative properties and the monitoring it requires.
Key pain management considerations:
- Never administer opioids to a casualty with altered mental status or signs of shock.
- Document the time and dose of every analgesic given, and pass that record with the casualty to the next echelon of care.
- Reassess pain every 15 minutes after administration.
Antibiotic administration
Combat wounds are contaminated by definition. TCCC guidelines recommend early antibiotic administration for penetrating trauma, particularly abdominal wounds and open fractures. Moxifloxacin (oral) is the standard field antibiotic for casualties who can swallow. Ertapenem (IM) is used for casualties who cannot take oral medications. The goal is to reduce infection risk during the evacuation window, not to replace definitive surgical debridement.
Wound management
After hemorrhage is controlled and antibiotics are initiated, reassess all wounds. Remove improvised pressure dressings and replace them with proper wound dressings when supplies allow. Irrigate wounds with clean water or saline if available. Do not attempt to remove embedded objects in the field. Cover wounds with sterile dressings and secure them firmly to prevent displacement during movement.
- Check tourniquet sites for continued bleeding and note the time of application on the casualty’s forehead with a marker.
- Reassess chest seals for seal integrity, particularly after the casualty has been moved.
- Burns require moist dressings and immediate hypothermia prevention, since burned skin loses heat rapidly.
Splinting techniques
Fractures that are not stabilized cause ongoing soft tissue damage, increase blood loss, and make evacuation significantly more painful. Traction splints are used for mid-shaft femur fractures specifically, because the thigh muscles pull the bone ends apart and can cause massive internal bleeding. SAM splints and improvised rigid splints work for most other long bone fractures. The rule for splinting is to immobilize the joint above and the joint below the fracture. Check distal pulse, sensation, and movement before and after splint application.
How to handle enemy combatants during tactical field operations
Managing an enemy combatant in the field requires security first, medical care second. This is not a moral hierarchy; it is a practical one. An unsecured combatant who regains consciousness or receives assistance from a third party creates a direct threat to the treating team.
Best practices for this scenario:
- Search and secure before treating. Conduct a thorough search for weapons, communications devices, and secondary explosive devices before initiating any medical care. Use flex cuffs or zip ties to restrain hands behind the back when the tactical situation permits.
- Maintain situational awareness. Assign one team member to security overwatch while another provides medical care. Never allow the entire team to focus on the casualty at the expense of perimeter security.
- Apply the same MARCH priorities. Under the Law of Armed Conflict and U.S. military doctrine, enemy combatants who are wounded and no longer a threat are entitled to the same standard of medical care as friendly forces. Withholding care from a secured, incapacitated combatant is a violation of the Geneva Conventions.
- Document everything. Record the time of capture, injuries observed, treatment provided, and any intelligence value items recovered. This documentation transfers with the detainee to the next echelon.
- Communicate with command. Report the capture and medical status through the chain of command as soon as the tactical situation allows. Enemy combatants require specific handling procedures that differ from friendly casualty evacuation.
- Limit interaction. Do not engage in conversation beyond what is medically necessary. Interrogation is not a field medic’s role and creates legal exposure.
The most common failure in this scenario is rushing medical care before the security sweep is complete. A combatant who appears unconscious can be feigning. Complete the search, restrain, and establish overwatch before opening a medical kit.
1. Control massive hemorrhage before anything else
Hemorrhage is the leading cause of preventable death in combat. Every operator should carry a tourniquet on their person, not in a bag, because the first 60–90 seconds after a wound determines whether a tourniquet will work. The Combat Application Tourniquet (CAT) and the SOF Tactical Tourniquet Wide (SOFTT-W) are the two most widely issued and validated designs in U.S. military service. Apply high and tight on the limb, tighten until bleeding stops, and note the time.
2. Clean soft tactical gear by hand, never by machine
Machine washing destroys MOLLE webbing and warps internal stiffeners. Hand washing in cold water with a mild, non-detergent soap is the correct method for Cordura nylon, plate carriers, chest rigs, and soft packs. Cold water matters because heat breaks down synthetic fibers and the elastic properties built into modern tactical garments. Work a soft brush into seams and PALS webbing where grit accumulates, then rinse completely. Leftover soap residue attracts more dirt on the next mission.
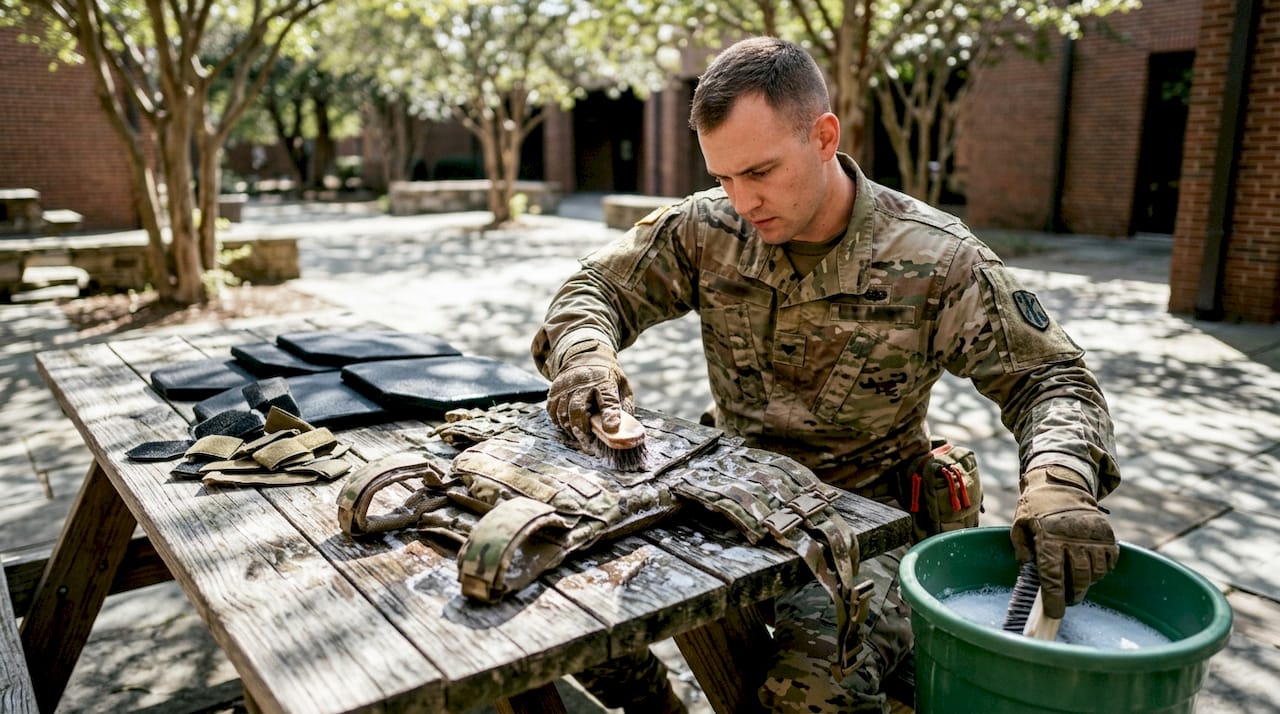
3. Strip all inserts and hardware before cleaning
Remove ballistic plates, soft armor inserts, trauma pads, and all patches before any cleaning cycle. Washing a plate carrier with armor still inside risks damaging the ballistic material and prevents the carrier fabric from drying properly, which leads to mildew. Empty every pouch completely. Turn the carrier inside out to protect the exterior coating and prevent hook-and-loop fasteners from snagging.
4. Use only mild soap on tactical fabrics
Fabric softeners and bleach alternatives destroy fire-retardant and water-resistant coatings on tactical fabrics. This is the step most operators skip or get wrong. A coating that took months of field use to degrade can be stripped in a single wash cycle with the wrong detergent. Use an unscented, mild soap with no additives. The same rule applies to boot interiors, helmet padding, and any garment with a DWR (durable water repellent) finish.
5. Eliminate salt buildup from webbing and membranes
Salt accumulation degrades webbing and waterproof membranes from the inside out, causing gear failure that is invisible until the moment it matters. Sweat deposits salt crystals in chin straps, shoulder webbing, and boot liners during every mission. After operations in hot environments or extended wear, rinse all webbing under clean water before storage. Pay particular attention to areas that contact skin directly.
Pro Tip: Flush the interior of waterproof boots with lukewarm water and a drop of mild soap after every extended field operation. Sweat-induced salt buildup clogs the waterproof membrane from the inside, and no amount of exterior cleaning will fix that. Swish the water around, pour it out, and let the boots air dry upright in the shade.
6. Air dry in shade, never in direct sunlight or a dryer
UV exposure causes sun-rot and fading in nylon and cotton blends, weakening fibers at the structural level. A high-heat dryer melts specialized coatings and can shrink fabric unevenly. Hang gear in a well-ventilated, shaded area after every wash. Plate carriers and padded gear can take 24–48 hours to dry completely because of the padding layers. Never store gear that is even slightly damp; mildew can rot nylon fibers within weeks.
7. Run a field inspection checklist after every mission
Cleaning is the best time to inspect because the gear is stripped down and every surface is visible. Work through this sequence:
- Straps and webbing: check for fraying, cuts, and salt stiffening. Flex each strap through its full range of motion.
- Buckles and sliders: clear fine silt from buckle mechanisms with an old toothbrush. Plastic buckles become brittle when packed with grit.
- Zippers: run each zipper its full length. If it feels gritty, rinse under water and apply a small amount of silicone-based zipper lubricant. Avoid petroleum-based products, which attract dust and eventually jam the mechanism.
- Velcro: rake debris from hook-and-loop fasteners with a fine-tooth comb or dedicated Velcro cleaning tool. Use a strip of duct tape to lift lint from the loop side. Bent or melted hooks cannot be restored and need replacement.
- Waterproof membranes: look for delamination, punctures, and areas where the coating appears dull or flaky.
- Seams: check high-stress seams on shoulder straps, hip belts, and handle attachment points for thread separation.
8. Sanitize medical equipment between uses
Medical gear used in tactical environments carries biological contamination risk. Hard surfaces on tourniquets, shears, and airway adjuncts should be wiped down with isopropyl alcohol (70% concentration) after use. Nasopharyngeal airways are single-use items and should never be reused. Hemostatic dressings are single-use by design. For reusable items like SAM splints, clean with a diluted bleach solution (1:10 ratio with water), rinse thoroughly, and allow to air dry before repacking. Keep medical pouches dry and inspect them for moisture intrusion after water crossings or heavy rain.
9. Make quick field repairs before gear fails completely
A fraying strap or a cracked buckle that gets ignored becomes a mission-critical failure at the worst moment. Carry a small repair kit: 550 paracord, a needle and waxed thread, Tenacious Tape or a similar ripstop repair tape, and spare buckles. Burn loose threads with a lighter rather than cutting them; the heat fuses the synthetic fibers and prevents further unraveling. Ripstop tape applied to a small tear on the inside of a garment holds through extended field use and does not require sewing. For field weatherproofing repairs, reapply a spray-on DWR treatment to any area where water is no longer beading.
10. Store gear correctly between operations
How gear is stored between missions determines how long it lasts. Never store gear in a garage or basement with high temperature fluctuations and humidity. A climate-controlled environment prevents the mildew and mold that rot nylon fibers. Do not stack heavy items on top of soft armor inserts or specialized padding; compression creates permanent deformation that degrades protection. Remove batteries from optics, flashlights, and communications gear stored for more than a month. Leaking alkaline batteries cause corrosion damage that destroys electronics faster than field use ever will.
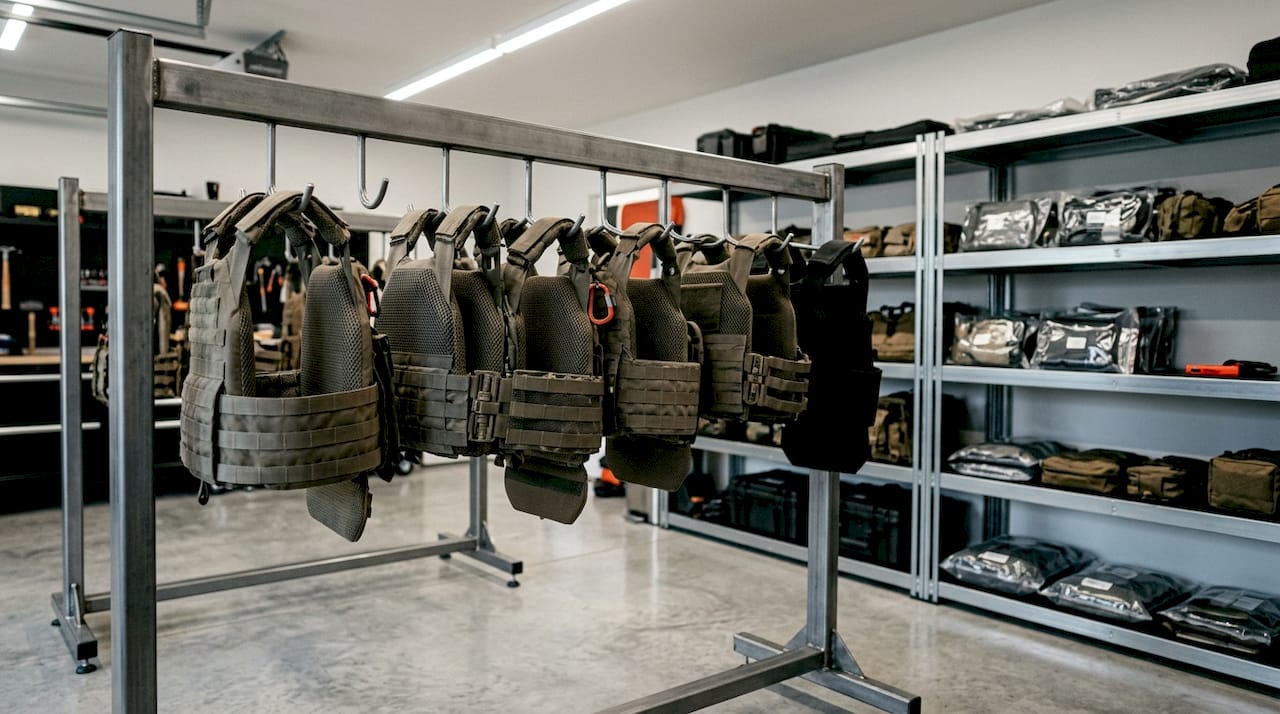
Tactical gear storage quick reference:
| Item | Storage method | Key risk to avoid |
|---|---|---|
| Plate carrier | Hang on heavy-duty hanger, fully dry | Mildew from damp storage |
| Soft armor inserts | Flat, no compression | Permanent crush deformation |
| Waterproof boots | Upright, stuffed with paper, shaded | Salt membrane clogging |
| Optics and electronics | Remove batteries if stored over 1 month | Alkaline battery leakage |
| Velcro fasteners | Closed and covered | Lint and debris accumulation |
| Hemostatic dressings | Sealed, dry, temperature-stable | Moisture degradation |
11. Protect gear from environmental threats proactively
Dust, sand, and moisture are constant threats in the field, but the damage they cause is preventable with the right habits. Store gear in sealed bags or dry sacks during transport through dusty or wet environments. Apply a silicone-based waterproofing spray to Cordura gear before deployment, not after it gets wet. For pest control in long-term field storage, cedar blocks or permethrin-treated storage bags deter insects without the chemical damage that aerosol pesticides cause on synthetic fabrics. In salt-air coastal environments, rinse all metal hardware (buckles, D-rings, snap hooks) with fresh water after every day of exposure.
Fs9tactical gear is built to survive the conditions you just read about
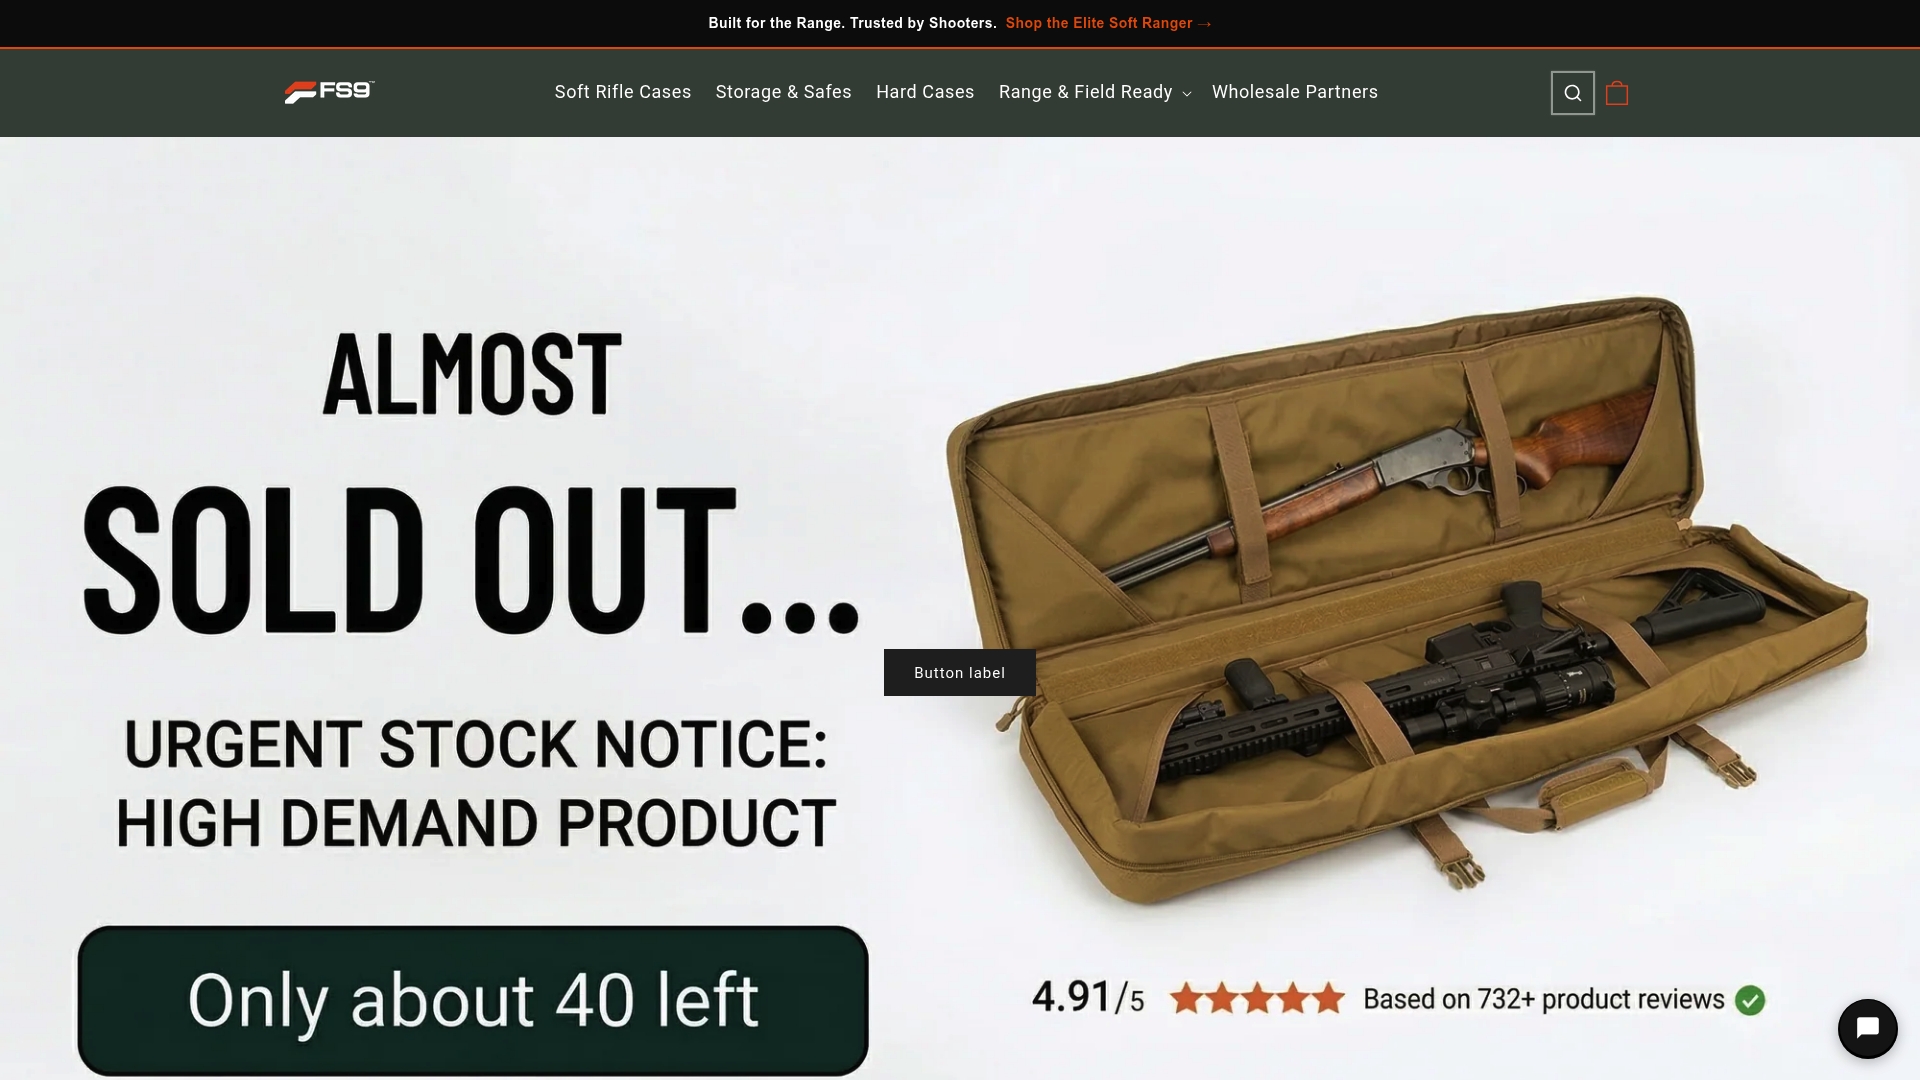
Most gear fails not from combat stress but from neglect between missions. Fs9tactical builds its products specifically for operators who understand that durability is engineered in from the start, not added later. The brand uses ballistic-grade fabrics and reinforced stitching throughout its product line, which means the cleaning and maintenance routines covered in this article actually extend gear life rather than just slow the inevitable.
The FS9 60-in-1 Lifeline Emergency Survival Kit is built for rapid field deployment, with components organized for immediate access under stress. The tactical gear bag uses the same construction philosophy: heavy-duty materials, functional organization, and hardware that holds up to the kind of use this article describes. With over 20,000 satisfied users and thousands of five-star reviews, Fs9tactical has earned its reputation as the second-largest soft rifle case manufacturer in the U.S. If your current kit is not holding up to the maintenance standards outlined here, that is a gear problem, not a maintenance problem.
Key Takeaways
Tactical field care and gear maintenance both follow the same principle: systematic protocols applied consistently prevent catastrophic failure when it matters most.
| Point | Details |
|---|---|
| MARCH saves lives in sequence | Follow Massive bleeding, Airway, Respiration, Circulation, Head injury/Hypothermia in order — skipping steps costs lives. |
| PAWS sustains casualty stability | Pain control, antibiotics, wound management, and splinting prevent deterioration during evacuation. |
| Salt is the primary gear threat | Salt from sweat degrades webbing and waterproof membranes from the inside; flush boots and rinse webbing after every mission. |
| Hand wash with mild soap only | Fabric softeners and bleach alternatives strip fire-retardant and water-resistant coatings from tactical fabrics in a single wash cycle. |
| Fs9tactical gear for field demands | Built with ballistic fabrics and reinforced stitching, Fs9tactical products are designed to hold up under the maintenance routines and field conditions described here. |
