

How to Secure Gear on a Pack Animal for a Safe Ride
The safest way to secure gear on a pack animal is to balance side loads within a pound or two of each other, tie them to structural D-rings on the saddle tree rather than decorative strings, and finish with a breakaway pigtail that lets the animal shed the load in an emergency. Get those three things right and shifting loads, sore backs, and wrecks on the trail become rare instead of routine.
Before you leave the trailhead, run this sequence:
- Weigh and match both side loads on a spring or hanging scale, adjusting contents until they’re within 1 to 2 pounds of each other.
- Attach to structural points on the saddle tree, breast collar, and breeching, never to crupper rings or loose saddle strings.
- Test the rig and mark the weight on each pannier or manty, then do a quick-release check before moving out.
A pack animal typically carries 15 to 20 percent of its own body weight, usually 140 to 160 pounds total. Watch the animal’s ears and stance as you cinch down. A pinned ear or a shifted foot is often the first sign something’s rubbing wrong, and it’s a lot easier to fix at the trailhead than three miles into the backcountry.
Key Takeaways
Secure gear on a pack animal by balancing side loads within a pound or two, tying to structural D-rings, and always finishing with a breakaway release point.
| Point | Details |
|---|---|
| Balance is non-negotiable | Weigh and match side loads within 1 to 2 pounds before you leave camp. |
| Use structural attachment points | Tie to D-rings on the saddle tree, never to crupper rings or decorative strings. |
| Match the system to the cargo | Use panniers for fragile gear, manty for odd shapes, top packs for light bulky items. |
| Check for pressure daily | Inspect for dry spots and heat after every travel day to catch sores early. |
| Build in a quick release | A breakaway pigtail lets an animal shed a load safely if it panics. |
| Choose gear built for the abuse | Fs9tactical’s reinforced bags and cases protect fragile contents inside panniers or manties. |
Table of Contents
- Pack Systems: Panniers vs. Manty vs. Top Packs
- How to Weigh, Balance, and Mark Loads
- Essential Hitches and Quick-Release Knots
- Saddle Fittings That Keep Loads From Slipping
- Loading and Managing a Pack String
- Securing Antlers, Axes, and Other Awkward Loads
- Daily Animal-Care Checks and Emergency Release
- A Field Perspective on Pack Safety
- Gear That Holds Up Inside a Pannier or Manty
- Frequently Asked Questions
- Sources
Pack Systems: Panniers vs. Manty vs. Top Packs
Three systems dominate pack-animal rigging, and each one solves a different problem.
Panniers are rigid or semi-rigid boxes or bags that hang on either side of the saddle. They protect fragile cargo, like optics, coolers, or bear boxes, and they’re fast to load and unload at camp. The tradeoff is weight and bulk; a hard pannier that snags a tree on a tight switchback can hurt the animal a lot more than a soft-sided one.
Mantying means wrapping gear in a canvas tarp and cinching it with rope, usually finished off with a basket hitch. Mantying handles odd-shaped loads well and can be gentler on some saddles than rigid panniers, which makes it the go-to for antlers, camp stoves, or anything that doesn’t fit a box.
Top packs ride above the saddle, between the panniers, and carry soft, light items like sleeping bags or tents. Because a top pack raises the load’s center of gravity, it has to be secured with the right hitch or it will sway and shift.
| System | Best for | Main risk |
|---|---|---|
| Panniers | Coolers, bear boxes, fragile gear | Bulk catches brush on tight trails |
| Manty | Antlers, odd shapes, camp gear | Requires practiced folding and tying |
| Top pack | Sleeping bags, tents, light bulky items | Raises center of gravity, sways if loose |
How to Weigh, Balance, and Mark Loads
Getting the weight right is not a nice-to-have; it’s the single biggest factor in whether a load stays put for eight hours of trail riding. Here’s the sequence packers actually use:
- Weigh each pannier or manty separately on a spring scale before you ever lift it toward the animal.
- Adjust contents between the two sides until they’re within 1 to 2 pounds of each other.
- Re-weigh once the load is fully packed, since a canteen or extra rope can tip the balance more than you’d think.
- Mark the final weight on the pannier or manty tag so you (or the next packer) don’t have to guess next time.
Stick to a conservative version of the 15 to 20 percent rule, and remember it’s a starting point, not a target. A young mule and a seasoned draft horse don’t carry the same way, and terrain matters as much as distance.
Pro Tip: If one side runs a few pounds heavy, don’t add dead weight to the light side. Shift a dense item, like a water jug or ammo box, from the heavy pannier to the light one instead. It’s faster and keeps total load weight down.
Essential Hitches and Quick-Release Knots
Four knots cover almost everything you’ll rig in the field.
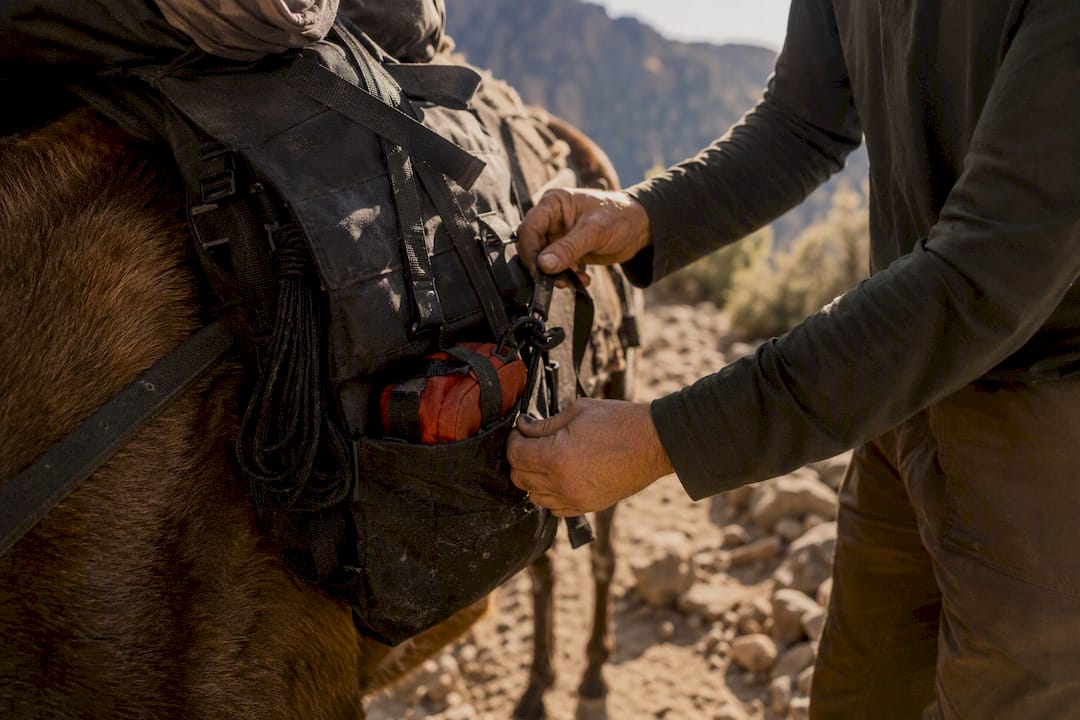
- Basket hitch: Cradles a manty bundle from underneath, ideal for odd-shaped or bulky loads that don’t sit flat.
- Diamond hitch: The traditional standard for cinching a full load, side packs and top pack together, in one continuous wrap.
- Barrel hitch: Suited to round or barrel-shaped containers like water jugs or bear boxes that need a snug cradle.
- Quick-release finish: Always end the tie-off with a knot you can pull free with one hand under tension, not a knot that tightens under load.
Traditional rope hitches like the diamond remain core skills, though many packers now pair them with buckle-based top-pack systems for faster field deployment. Choose rope hitches when you need maximum security on a long pack string; choose buckle systems when you’re solo and need speed.
Pro Tip: Never tie a heavy load to a saddle string or crupper ring. Those aren’t load-bearing; they’re decorative attachments that concentrate stress right where the animal can least handle it.
Saddle Fittings That Keep Loads From Slipping
The hardware between the load and the animal’s back matters as much as the knot on top of it. Before any trip, check:
- Breast collar, to keep the saddle from sliding backward on climbs.
- Breeching (rump strap), to stop the saddle from sliding forward on descents.
- Cinch(es), snug but not overtight, rechecked after the first mile once the animal settles.
- Saddle pad, thick enough to cushion the tree without bunching.
- Structural D-rings and lash rings, the only points rated for real load transfer.
Whether you run a Decker or a sawbuck saddle, the rule is the same: weight has to transfer into the saddle tree through those D-rings, not through crupper rings or decorative strings, which puts unwanted pressure directly on the loins.
Pro Tip: After the first hour of travel, run a hand under the pad. A dry, cool spot surrounded by sweat means pressure is building there. Catch it early and you avoid an open sore by lunch.
Loading and Managing a Pack String
A repeatable loading sequence beats improvising every morning. One person holds the animal’s head, one loads and balances the pannier, and one checks cinches and hardware before the next animal comes up. Recheck the cinch again after a few minutes; most animals settle and loosen the girth slightly.
- Load both side packs together, matching weight side to side.
- Add the top pack last, secured with your chosen hitch.
- Tie a pigtail with a breakaway loop at each connection point in the string, using rope rated to snap under real emergency force rather than everyday trail tension.
At camp, a picket line, highline, or portable electric fence all work. Highlines suit rocky ground with few trees; picket pins work in open meadows; portable fencing is worth the extra pack weight on multi-night trips where animals need room to graze.
Securing Antlers, Axes, and Other Awkward Loads
Odd-shaped and sharp items need their own handling rules, not a generic strap-and-hope approach.
- Orient antlers tines-down when possible, mantied or barrel-hitched to keep points from catching brush or jabbing the animal’s side.
- Guard axe and knife blades, and reinforce the bottoms of trash-can-style tool carriers so points don’t punch through canvas.
- Keep handled tools centered low and close to the animal’s back; a handle riding high and wide is what snags every low branch on the trail.
- Load the heaviest item roughly a third down from the top and a third out from the back so its mass sits over the tree instead of on the cantle or ribs.
Pro Tip: A strip of duct tape over exposed axe edges and antler tips is a five-second fix that saves your manty canvas and the animal’s hide.
Daily Animal-Care Checks and Emergency Release
Run these three checks every evening without exception:
- Inspect the back and girth line for heat, swelling, or dry spots, the earliest sign of a developing pressure sore.
- Watch gait at the walk; a shortened stride on one side often traces back to an unbalanced load from earlier that day.
- Adjust padding immediately if you find a hot spot. Waiting until morning turns a minor rub into a multi-day layup.
If a load shifts or an animal gets tangled, cut the sling rope at the breakaway point rather than fighting the main knot. Keeping loads inside the saddle’s footprint and off the loins prevents most of these emergencies before they start.
Pro Tip: Carry a folding knife on your belt, not buried in a pannier, so you can cut a breakaway rope in seconds if an animal panics.
A Field Perspective on Pack Safety
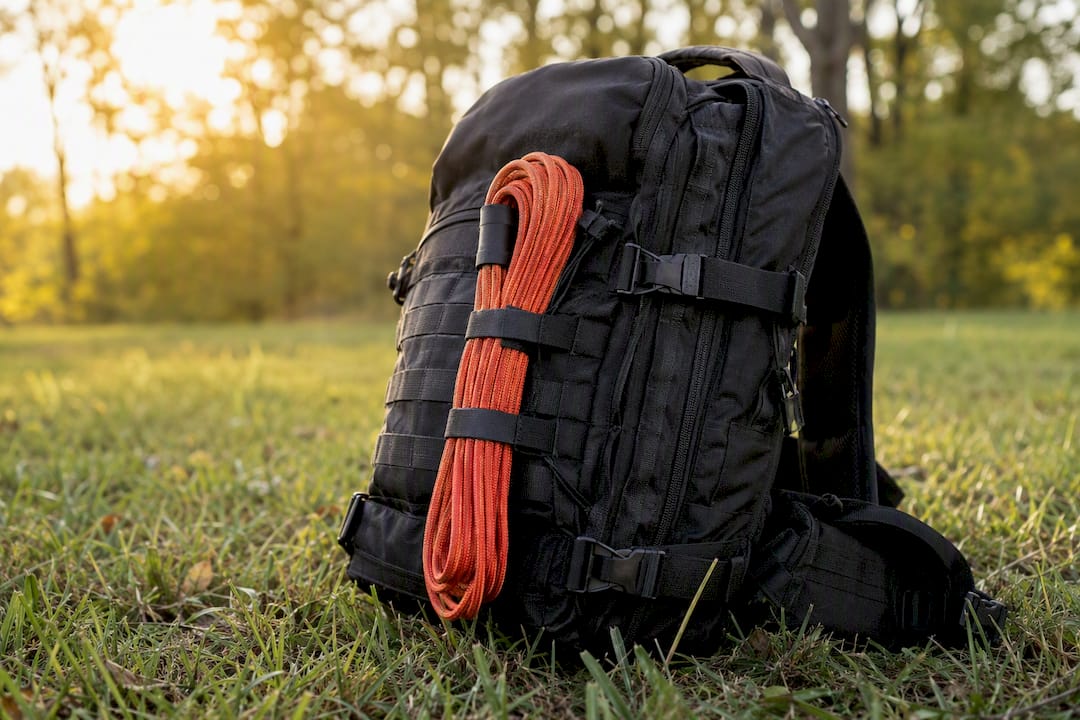
Most wrecks trace back to one shortcut: skipping the re-weigh after packing. The gear that saves a trip isn’t fancy, it’s whatever survives a mule rolling on it. Animal care always comes first; a sore back ends a hunt faster than a broken zipper ever will.
Gear That Holds Up Inside a Pannier or Manty
Fragile items don’t survive a pack trip on hope alone; they survive because whatever’s holding them is built to take a beating. A rifle scope or a set of optics rattling loose inside a soft duffel is asking for trouble the moment a mule stumbles on a rocky switchback. That’s where a rugged, purpose-built case earns its weight.
Fs9tactical builds gear around exactly that problem: cases and bags reinforced with ballistic fabric and heavy stitching that shrug off the abuse of a multi-day pack trip. A reinforced tactical gear bag works well as pannier contents or padding inside a soft top pack, keeping optics and electronics from banging around on rough trail. For trips where you want a self-contained emergency setup riding in a manty or pannier, the 60-in-1 survival kit packs a season’s worth of contingency gear into one compact case that won’t shift loose. Check either page and see which one fits your pack list before your next trip.
Frequently Asked Questions
What’s the safest way to secure gear on a pack animal? Balance the load within 1 to 2 pounds per side, attach it to structural D-rings on the saddle tree, and finish with a breakaway pigtail so the animal can shed the load if something goes wrong.
How much weight can a pack animal safely carry? Most healthy pack animals handle 140 to 160 pounds, roughly 15 to 20 percent of body weight, though terrain and the individual animal’s condition should push you toward the conservative end.
What’s the difference between a manty and a pannier? A manty wraps gear in canvas secured with rope and a basket hitch, ideal for odd shapes. A pannier is a rigid or semi-rigid container that hangs on the saddle, better suited to fragile or boxed items like coolers.
Which knot should I use for a top pack? The diamond hitch is the traditional standard for cinching a full load together, though many packers now pair rope hitches with buckle-based top-pack systems for faster setup.
How do I know if a saddle is causing sores? Check for dry, cool spots on the pad after travel; a dry patch surrounded by sweat signals developing pressure that needs immediate padding adjustment.
Sources
- Saddle sores in horses — Merck Veterinary Manual
- Course 306. Working with Packers and Packstock (Field Reference)
- How to safely attach saddlebags & avoid pressure points — Iberosattel portal
- Horse Packing 101 — Distinctly Montana
- Packing 101: You can do it! — Horse & Rider
