

Setting Up a MOLLE Backpack for Real-World Load Balance
Plan your mission first, then load the pack: heavy gear rides close to your spine and hip belt, pouches get woven securely across at least two rows of PALS webbing, and anything you’ll grab in a hurry stays within easy reach up front. FS9 Tactical builds packs around this exact logic. The full breakdown below covers attachment technique, placement, and a final safety checklist before you head out.
TL;DR:
- Pouches should be placed based on their function, with medical gear on the front for quick access and heavy items near the spine for balance.
- Proper weaving through alternating webbing rows and securing every snap or clip is essential to prevent shifting during movement.
- Lighter gear belongs on the front or sides, while the heaviest, like hydration bladders and spare ammo, should be close to your back and hips.
- Regularly inspecting webbing, snaps, and clips before trips can prevent gear failure under load.
- Using durable materials like ballistic fabrics and reinforced stitching ensures the pack maintains its integrity under heavy use.
Table of Contents
- How Do You Plan a Molle Backpack Setup Before Attaching Anything?
- How Do You Physically Attach Pouches to a Molle Pack?
- Where Should You Place Pouches for Better Weight Distribution?
- Which Pouches Go Where? Matching Types to Locations
- What Should You Check to Keep Your Setup From Failing?
- What Makes FS9 Tactical Gear Hold Up Under Heavy Loads?
- Final Field Checklist Before You Head Out
- The Setup Advice Most Guides Get Backward
- Build Your Setup on Gear That Won’t Quit Mid-Trip
- Sources
How Do You Plan a Molle Backpack Setup Before Attaching Anything?
Every solid molle backpack setup starts with a decision, not a pouch. Ask what the pack is actually for: a day hike, a range session, or a survival loadout. Each mission calls for a different mix of gear, and guessing at it later means re-weaving pouches you already mounted wrong.
Write a two-tier list before you touch any webbing. Primary items are things you’ll need fast or can’t do without: a med kit, water, a multitool. Secondary items are backups and comfort gear. This list determines which rows of PALS webbing get claimed first.
Reserve zones by category instead of filling space as you go:
- Medical: one dedicated pouch, always in the same spot across every pack you own, so muscle memory works under stress.
- Hydration: center-back or a purpose-built sleeve, never crammed beside sharp tools.
- Tools and repair: lower or side rows, away from anything you’ll need one-handed.
- EDC: shoulder strap or upper front, for items you touch dozens of times a day.
A useful rule of thumb: match pouch height to available rows before buying it, not after. A four-inch pouch needs at least two full rows of webbing woven through it, and top-loading it onto a single row invites shifting. Prioritize weight placement while you plan, too. If a listed item is genuinely heavy, like a hydration bladder or spare ammo, mentally assign it to a spot near your spine before you ever pick up a strap. Guides that specialize in tactical range setups consistently push this same planning-first approach, and it holds up on the trail as much as the range.
How Do You Physically Attach Pouches to a Molle Pack?
Weaving is where most setups either hold together or fall apart under load. Get the sequence right once and every future pouch swap goes faster.
Tools you’ll want on hand:
- A slick stick or MALICE clip for pouches without sewn straps.
- Spare snaps in case factory hardware fails or goes missing.
- Heavy-duty zip ties for a temporary fix, never a permanent one.
The weaving sequence:
- Line up the pouch’s top row of straps with the pack’s top row of PALS webbing.
- Feed the strap down through the pack webbing, then back up through the pouch’s own loop.
- Move to the second row and repeat, alternating direction if the strap design allows it.
- Snap or buckle the strap end once you’ve woven through every available row on that pouch.
- Pull each row taut before locking it down. Slack now means shifting later.
Best practice calls for weaving through alternating rows on both the pack and pouch and fastening every snap or clip the pouch provides, not just the first one. A pouch taller than four inches should use two full rows minimum; anything holding more than a pound or two benefits from a third row if the webbing allows it.
Quick-release clips make sense for gear you’ll swap constantly, like a range bag pouch you rotate between calibers. Sewn straps win for anything permanent, like a hydration carrier that never leaves the pack.
Pro Tip: After weaving a new pouch, grab it and shake the pack hard, side to side and up and down. If anything shifts more than a half inch, reweave it before you load gear inside. Frequent users treat this tug-and-shake test as standard practice, and reweaving after the first real use catches problems a static test misses.
Where Should You Place Pouches for Better Weight Distribution?
Placement decides whether your pack feels balanced or fights you with every step. Each zone on a molle backpack has a job, and mixing them up is the fastest way to end up sore three miles in.
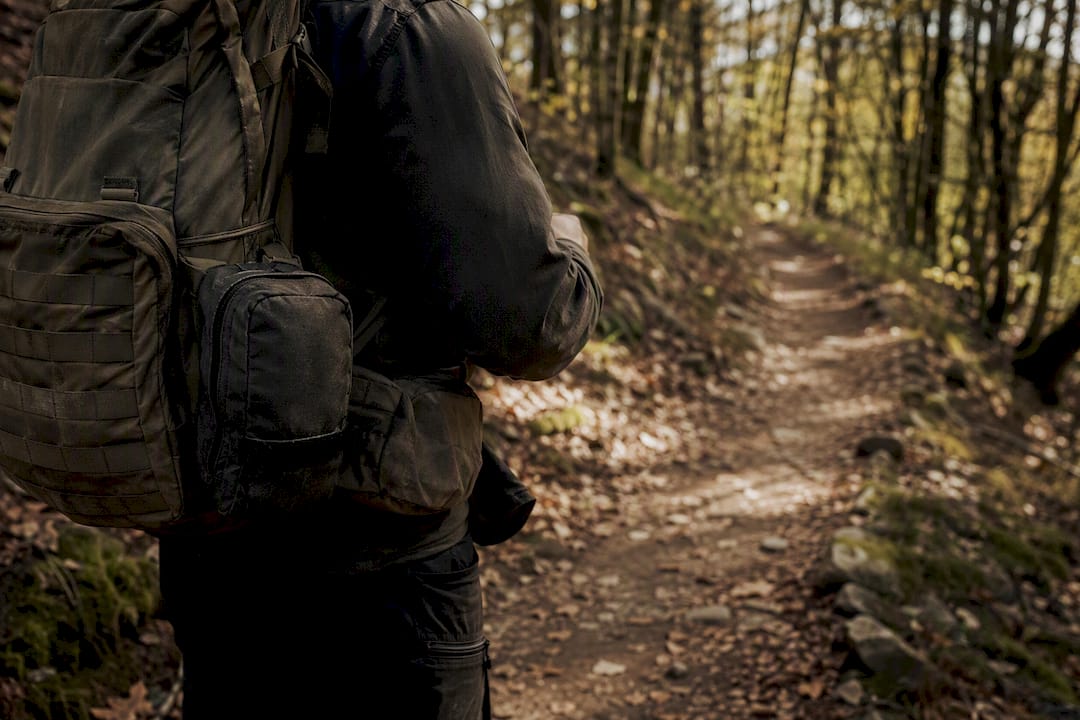
The front panel is your quick-access zone. Admin pouches, snacks, a folding knife, anything you’ll want without swinging the pack off your shoulders. Keep this zone light. Heavy gear mounted here pulls your shoulders forward and throws off your natural stride.
Side pouches carry midweight items: mag holders, a compact tool roll, a smaller water bottle. Keep both sides roughly even in weight, or if one side runs heavier, compensate by shifting something lighter to the opposite side. Lopsided side loading shows up almost immediately as shoulder strain on long walks.
Lower and back-panel mounts are for your heaviest items. Guidance from field packing guides is consistent here: heavier items belong close to your center of gravity, near the back panel and ideally transferred onto the hip belt rather than the shoulders. That keeps your center of gravity low and stacked over your hips instead of pulling backward off your spine.
Internally, hydration bladders and dense gear like a spare battery pack should sit against the frame sheet, closest to your back. Compression straps then cinch everything so nothing shifts as you move.
Once loaded, adjust the harness in this order:
- Tighten the hip belt first so it sits on your hip bones, not your waist.
- Clip and snug the sternum strap to stabilize side-to-side sway.
- Set shoulder straps last, pulling the pack up high and tight against your back rather than hanging low.
Which Pouches Go Where? Matching Types to Locations
Not every pouch belongs in the spot that looks convenient. Matching pouch type to location is what separates a setup you can use under pressure from one that just looks tactical.
Your IFAK or medical pouch belongs on the chest or front-top, full stop. In an actual emergency, you don’t want to be digging through side pockets. Fast retrieval matters more here than anywhere else on the pack.
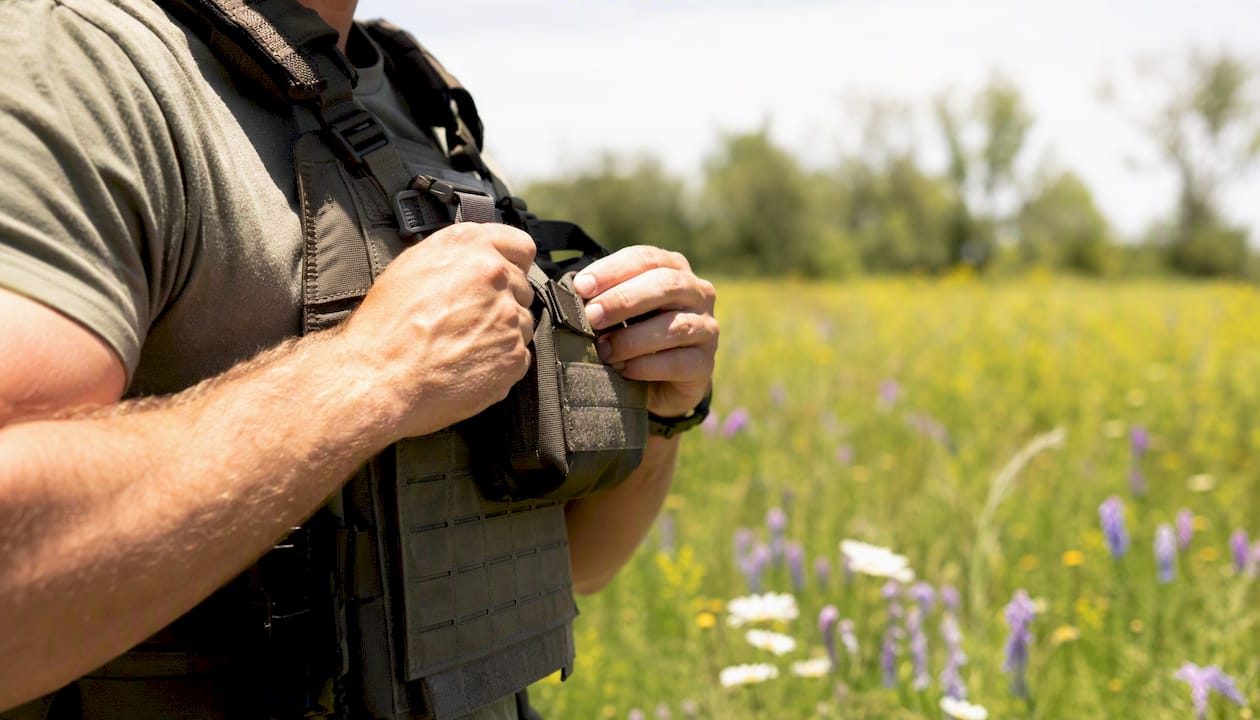
Admin pouches hold flat items: maps, pens, spare batteries, a small notebook. Front-top placement keeps them accessible without unpacking anything else.
Mag pouches, dump pouches, and tool sheaths work best low or on the sides, where you can reach and stow them in one motion without breaking stride.
Hydration carriers and radio pouches route through the center-back or a shoulder strap channel. Keep drink tubes and antennas clear of other gear so they don’t snag or kink when you reach for something else.
Small EDC pouches like a phone holster or flashlight sheath do well on a shoulder strap or upper front panel, close enough to grab one-handed. Avoid mounting anything bulky low on the sides if you’re hiking through brush. Snag-prone spots turn a five-minute trail into a frustrating one.
A compact tool organizer mounted on a spare row is a good example of matching pouch size to available webbing without overcommitting a whole zone.
What Should You Check to Keep Your Setup From Failing?
Gear fails quietly until it fails at the worst moment. A five-minute inspection before every serious trip catches most of what would otherwise ruin a hike or a range day.
Run through this before you load up:
- Check every strap of webbing for frays or thinning, especially where it bends around a pouch edge.
- Verify stitched rows haven’t pulled loose from repeated flexing.
- Test every snap and clip by hand. If one feels loose, replace it before you rely on it.
- Look for UV fading or salt residue if you store the pack outdoors or near saltwater.
Common mistakes show up more often than they should. Overloading a single row of webbing instead of spreading weight across the pouch’s full height is the biggest one, along with mixing weak zip-tie attachments with hardware meant for real load, and skipping a hardware check after the first hard use.
For anything electronic or medical, a small dry bag or a seam-sealed internal pouch beats trusting the pack’s exterior fabric alone against rain.
Pro Tip: Carry a spare length of paracord and a couple of heavy-duty zip ties in an easily reached pouch. A torn strap or a snapped clip in the field is an annoyance if you can shore it up on the spot, and a real problem if you can’t.
What Makes FS9 Tactical Gear Hold Up Under Heavy Loads?
Durability starts with materials, and this is where a lot of budget packs quietly cut corners. FS9 Tactical builds around ballistic fabrics and reinforced stitching specifically because a pouch that’s rated to carry weight is only as strong as the row it’s woven into.
That construction changes where you can confidently mount heavy gear. A reinforced top row holds up to repeated heavy-pouch cycling in a way a single-stitched row won’t.
A few practical habits extend that durability further:
- Add a small internal strap or extra stitching pass on any row carrying a pouch over a pound or two, especially one you swap often.
- Replace webbing showing visible fraying rather than waiting for a full failure in the field.
- Inspect high-load rows every few months if you’re using the pack weekly, not just once a season.
Browsing FS9’s attachment point field guide or checking a built assault pack directly shows how these principles play out on a finished product rather than in theory.
Final Field Checklist Before You Head Out
Run through this before every trip, not just the first one.
- Confirm every pouch is woven across the number of rows its height requires.
- Tug-test each pouch, top to bottom, side to side.
- Walk twenty paces with the full load and note any pull or sway.
- Cinch compression straps until the load stops shifting internally.
- Route the hydration tube clear of straps and pouches.
- Confirm the hip belt is carrying the majority of the weight, not your shoulders.
- Check that your IFAK and any emergency-access item can be reached in under five seconds.
- Recheck snaps and clips one final time before you move.
The Setup Advice Most Guides Get Backward
Most guides treat molle backpack setup like a placement puzzle: where does the mag pouch go, where does the med kit go. That’s not wrong, but it’s incomplete. Placement only matters once weaving is done correctly, and weaving is where most field failures actually start. A perfectly placed IFAK woven through a single row of webbing is still a med kit that can shift or drop off mid hike.
The other place conventional advice falls short is weight guidance treated as gospel rather than a starting point. The rough rule of keeping total pack weight under about 20% of body weight for long hikes is a reasonable baseline, not a hard ceiling, and it says nothing about how that weight is distributed across the pack itself. Two packs at identical total weight can feel completely different depending on whether the heavy items sit against your spine or dangle off a side pouch.
If you take one thing from this: weave first, weave fully, then place with the heaviest items low and close to your back. Everything else is refinement.
— Cody
Build Your Setup on Gear That Won’t Quit Mid-Trip
A molle backpack setup is only as good as the pack underneath it, and that’s where FS9 Tactical fits into everything covered above. Ballistic fabrics and reinforced stitching mean the rows you weave today still hold a season from now, whether you’re hauling a med kit up a ridge or running a loaded range bag every weekend.
If you’re building out a survival-focused setup, FS9’s 60-in-1 emergency survival kit is sized to slot straight into a mid-pack pouch without eating your whole primary-item allowance. It’s a practical way to fill the medical and emergency zone you reserved during planning without hunting down a dozen separate items. Check it out and see how it fits into the setup you just mapped out.
